This Claude Code Mac setup guide covers everything you need to go from zero to a fully configured Claude Code environment on macOS — installation, authentication, terminal integration, CLAUDE.md, hooks, and the habits that turn it into a tool you reach for constantly. Claude Code is Anthropic’s official CLI for Claude, and once you have it properly set up on a Mac, it becomes one of the most powerful engineering tools in your workflow.
Prerequisites
Before installing Claude Code, make sure you have the following on your Mac:
- Node.js 18 or later — Claude Code is distributed as an npm package. Check with
node --version. If you need to install or update Node, use Homebrew:brew install node, or use nvm if you manage multiple Node versions. - An Anthropic account — either a Claude Pro/Max subscription or API access via the Anthropic Console. Claude Code authenticates through your Anthropic account.
- macOS 13 Ventura or later — though it technically works on older versions, newer macOS gives you better terminal integration.
Claude Code Mac setup: installation
Install Claude Code globally via npm:
npm install -g @anthropic-ai/claude-codeVerify the installation:
claude --versionIf the command is not found, your npm global bin directory might not be on your PATH. Fix this by adding it to your shell config:
# For zsh (default on modern Macs)
echo 'export PATH="$(npm root -g)/../bin:$PATH"' >> ~/.zshrc
source ~/.zshrc
Authentication
Run Claude Code for the first time and it will walk you through authentication:
claudeYou’ll be prompted to choose between two authentication methods:
- Claude Pro/Max (OAuth) — If you have a Claude.ai subscription, select this. A browser window opens and you log in with your Anthropic account. No API key needed — your subscription covers usage.
- Anthropic Console (API key) — If you access Claude via the API, enter your API key from
console.anthropic.com. This method bills per token used.
Your credentials are stored in ~/.claude/.credentials.json and persist across sessions.
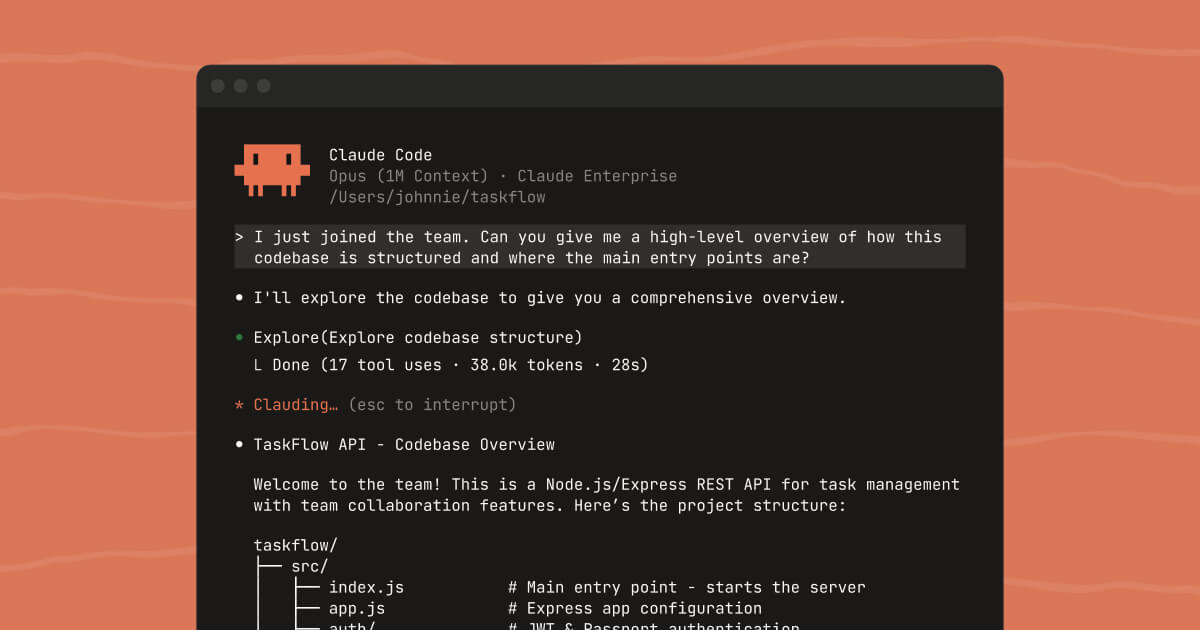
First run and the interactive REPL
Claude Code starts an interactive session in your current directory. It reads the contents of your project (respecting .gitignore) and maintains context across your conversation. The most important thing to understand: Claude Code is aware of your codebase. You don’t need to paste code into the chat — just ask.
cd ~/projects/my-app
claude
From there you can ask things like:
- “Explain how the authentication middleware works”
- “Add input validation to the signup form”
- “Write tests for the payment service”
- “Fix the bug in the rate limiter”
Permission modes
By default, Claude Code asks for confirmation before running shell commands or editing files. You can change this behaviour with permission modes:
- Default — prompts for each potentially destructive action
- Accept edits — automatically accepts file edits, still prompts for shell commands
- Auto — Claude decides what needs approval based on risk
- Bypass permissions — no prompts; use only in sandboxed or trusted environments
Slash commands you’ll use constantly
/help— shows all available commands/clear— clears conversation and starts fresh/compact— summarises the conversation to reduce context size/model— switch between Claude models mid-session/permissions— view and change the current permission mode/status— shows current model, context usage, and costs/review— ask Claude to review your staged git changes before committing
CLAUDE.md: your persistent project instructions
The single most impactful thing you can do to improve Claude Code’s behaviour in a project is to add a CLAUDE.md file at the root. Claude reads this at the start of every session and uses it as standing instructions.
# Project: My App

## Tech stack
- Node.js 20, Express, PostgreSQL
- Frontend: React 18 + TypeScript
- Tests: Vitest + React Testing Library

## Conventions
- Use async/await, not .then() chains
- Error handling: always use the AppError class from src/errors.ts

## Commands
- Run tests: npm test
- Start dev server: npm run dev

## Do not
- Add console.log statements (use the logger from src/logger.ts)
- Create files outside src/ without asking first
Settings and configuration
Claude Code uses JSON settings files at two levels:
~/.claude/settings.json— global settings, applies to all projects.claude/settings.json— project-level, committed to git.claude/settings.local.json— personal overrides, gitignored
{
  "model": "claude-sonnet-4-6",
  "permissions": {
    "defaultMode": "acceptEdits"
  }
}
Hooks: automate actions around tool use
Hooks let you run shell commands before or after Claude uses a tool. Auto-format files after Claude edits them:
{
  "hooks": {
    "PostToolUse": [{
      "matcher": "Write|Edit",
      "hooks": [{
        "type": "command",
        "command": "jq -r '.tool_input.file_path // .tool_response.filePath' | { read -r f; prettier --write \"$f\" --ignore-unknown; } 2>/dev/null || true"
      }]
    }]
  }
}
Terminal integration on Mac
Claude Code works in any terminal, but iTerm2 and Warp give the best experience on Mac. Add these aliases to your ~/.zshrc:
alias cc="claude"
alias ccr="claude -p 'Review my staged git changes and suggest improvements'"
Working effectively with Claude Code
A few habits that make a big difference: be specific about scope, use /compact for long sessions, review diffs before accepting, and iterate in small steps rather than trying to implement large features in one go.
Keeping Claude Code updated
npm update -g @anthropic-ai/claude-codeTroubleshooting
- Authentication errors after system update — run
claude logoutthenclaudeto re-authenticate - Command not found after install — run
npm config get prefixand add thebinsubdirectory to your PATH - Hangs on startup in large repos — add a
.clignorefile to excludenode_modules/,dist/,.git/
Related posts
If this claude code mac setup guide got you interested in improving your development workflow, you might also enjoy Git for solo developers: the workflow that actually works and setting up passwordless SSH authentication to make your terminal sessions smoother.